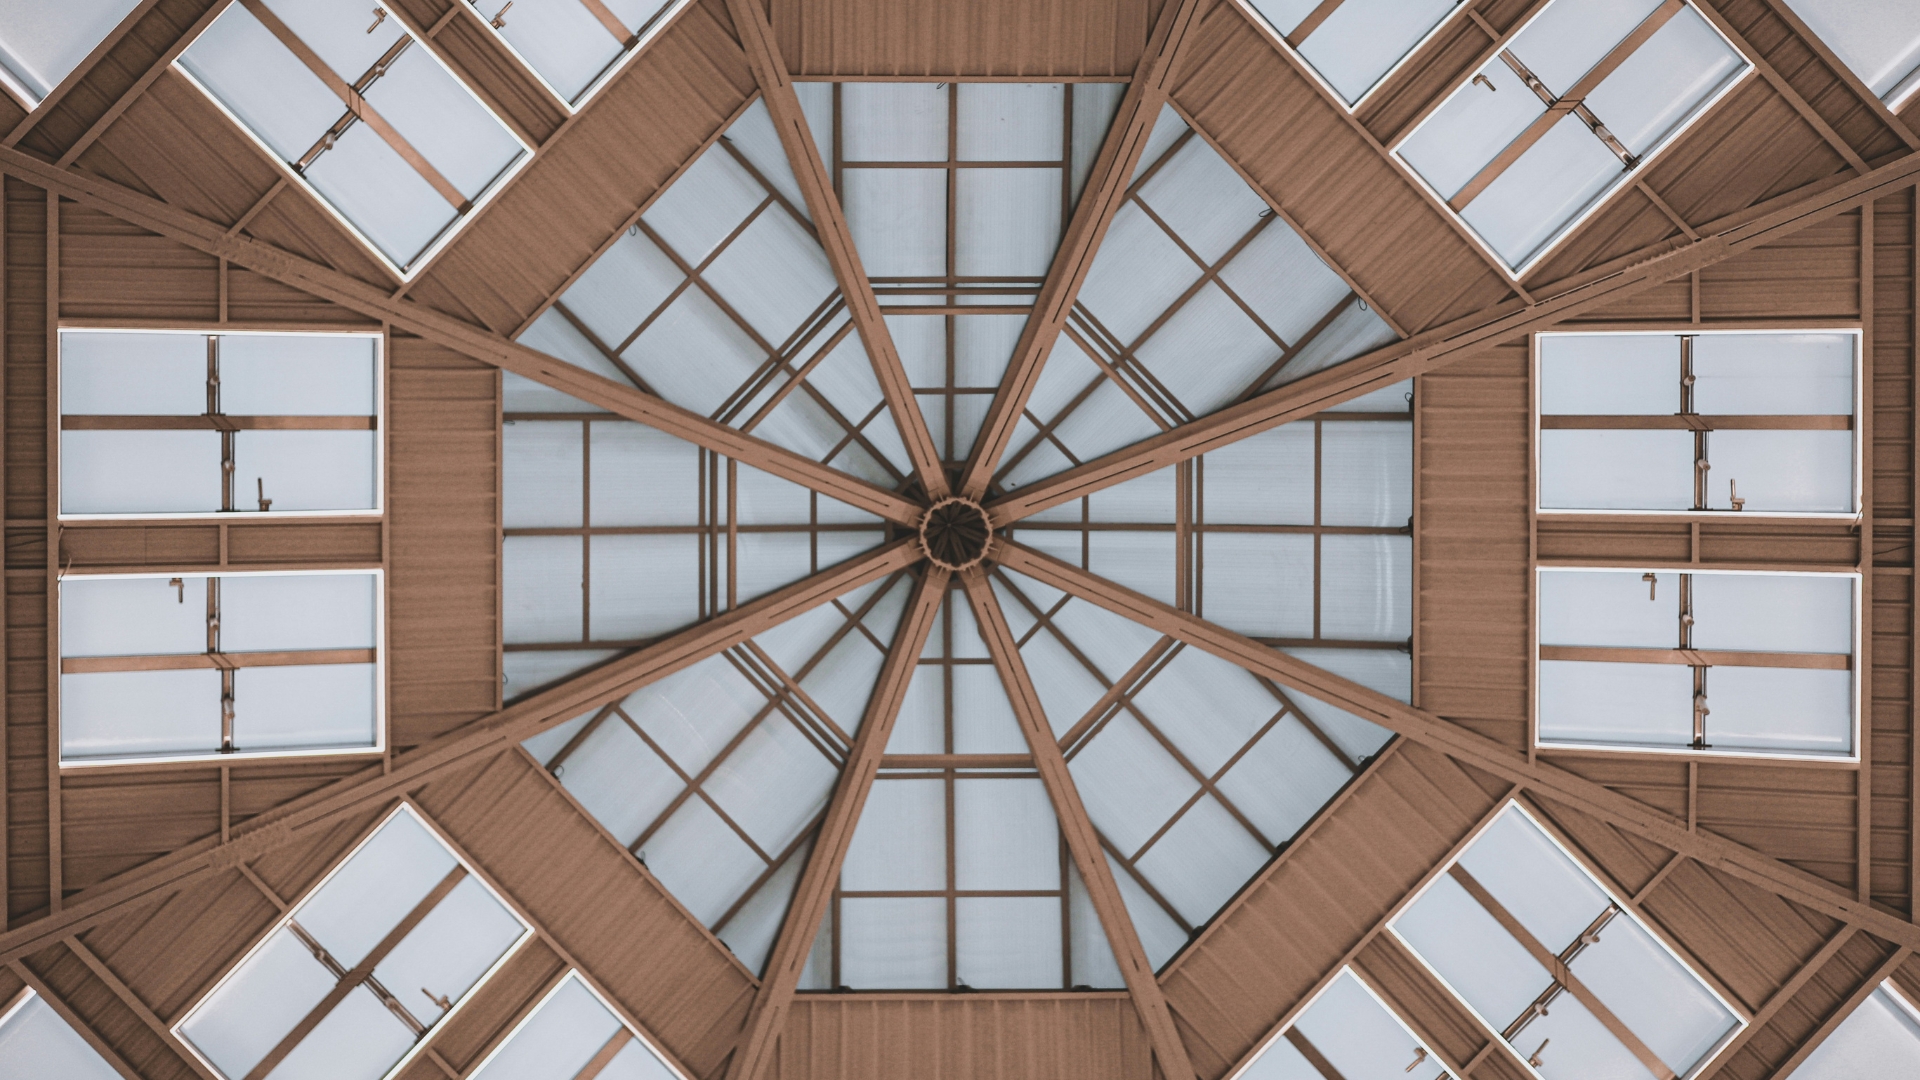
Low-Ceiling Design Hacks Visual

Introduction:

Rooms with low ceilings can sometimes be very cozy or claustrophobic, but that doesn’t mean that your room has to feel that way! It can totally make the room, and that is why there is such a thing asLow-Ceiling Design Hacks, or easy ways to add verticality and visually higher ceilings into a room! These styling tips require no heavy construction and give the illusion of ceilings much higher than what you really have (lighting, colors, vertical lines, etc.).

Explore full inspiration here:
https://silkraj.com/low-ceiling-design-hacks/

Why Low-Ceiling Design Hacks Are Trending

Low-ceiling design hacks are becoming increasingly popular for several reasons:

1. Compact Spaces Are Common

Urban apartments and smaller homes often have lower ceilings. Designers are creating solutions that make these spaces feel more luxurious.

2. People Want Airy, Open Interiors

Even if your home isn’t massive, a room that feels spacious instantly elevates your mood and comfort.

3. Cost-Effective Style Solutions

Instead of structural renovations, visual tricks like paint, lighting, and furniture placement offer affordable alternatives.

4. Pinterest & Social Media Influence

Homeowners are inspired by stunning visuals online, showing that small or low-ceiling rooms don’t have to feel cramped.

Small real-life situation:
A friend of mine painted her 8-foot living room ceiling a soft white and added a vertical stripe wallpaper accent on one wall. Instantly, the room felt taller and more welcoming to guests, even though the physical ceiling height hadn’t changed.

How to Make Ceilings Look Higher

These steps combine practical tips with design psychology to create airy, elevated spaces.

Choose the Right Paint Colors

Living room with soft white ceiling making the low ceiling appear taller
Choose the Right Paint Colors for Low Ceilings to Make Rooms Look Higher & Brighter

Why it works:
Light colors reflect more light and create the illusion of openness. White, soft pastels, and light neutrals make ceilings feel higher.

Tips:

  • Paint ceilings the same color as walls to eliminate visual breaks.

  • Use satin or eggshell finishes for subtle light reflection.

Practical tip:
Avoid dark colors on low ceilings — they absorb light and make spaces feel heavier.

Incorporate Vertical Lines
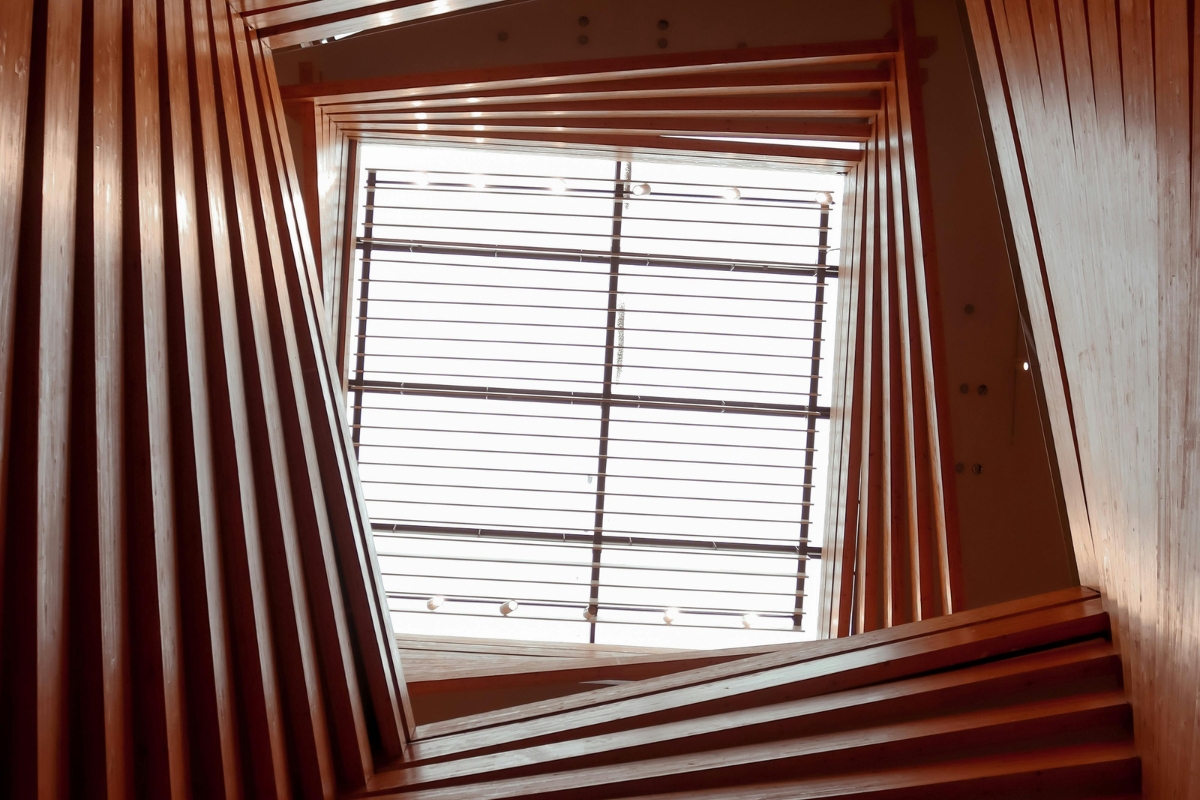
Bedroom with vertical striped wallpaper creating the illusion of a taller ceiling
Incorporate Vertical Lines to Make Low Ceilings Look Higher: Design Tips & Ideas

Why it works:
Our eyes naturally follow lines, so vertical patterns make a room feel taller.

Ideas:

  • Vertical striped wallpaper

  • Tall bookcases or floor-to-ceiling shelves

  • Vertical paneling or molding

DIY hack:
Add removable vertical wall decals or tape stripes to mimic the look of taller walls without permanent changes.

Optimize Lighting
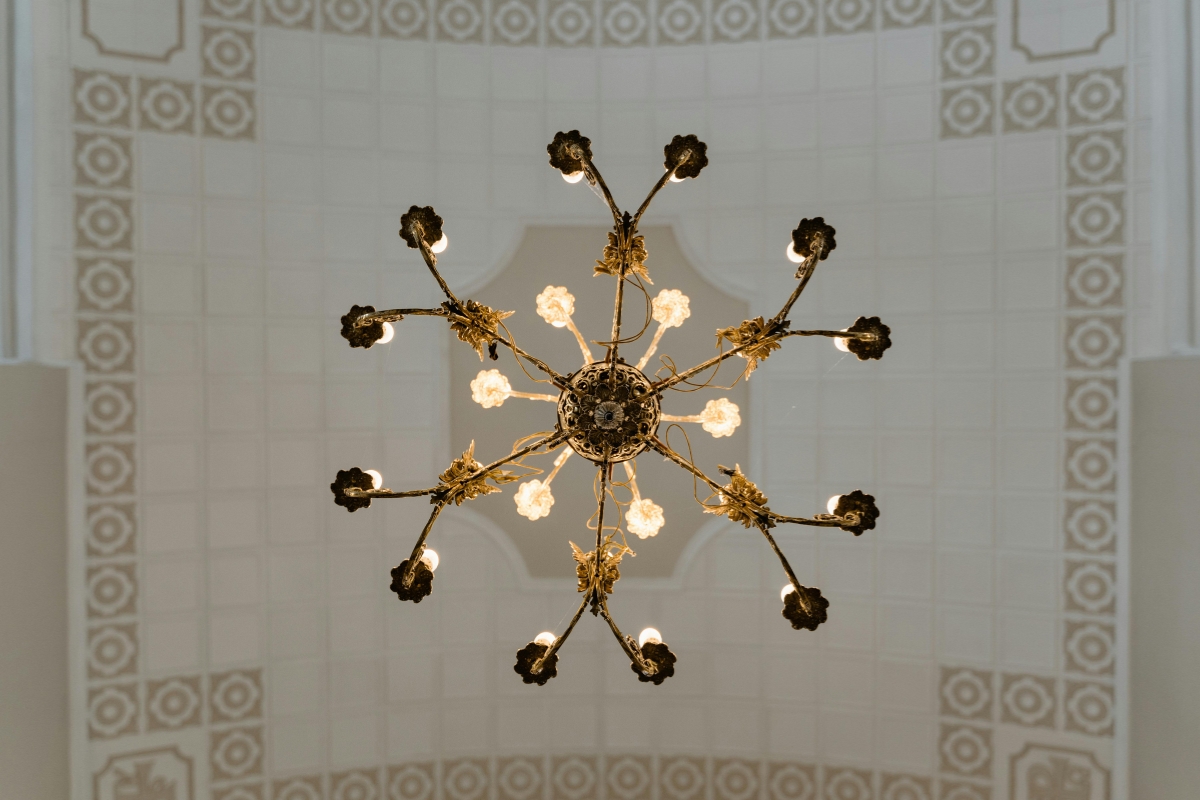
Living room with flush-mount ceiling lights making low ceiling feel taller
Optimize Lighting to Make Low Ceilings Feel High,r Bright & Airy Room Ideas

Why it works:
Good lighting expands visual space and reduces shadows that make a room feel enclosed.

Tips:

  • Use flush-mount or semi-flush ceiling lights to avoid low-hanging fixtures.

  • Add recessed or cove lighting to wash ceilings with soft light.

  • Incorporate mirrors to reflect natural light upward.

Personal insight:
I replaced a bulky chandelier in my dining room with recessed LED lights and a mirror on the opposite wall. Suddenly, the ceiling felt high, er and the room looked brighter during dinner gatherings.

Mind Your Furniture & Decor
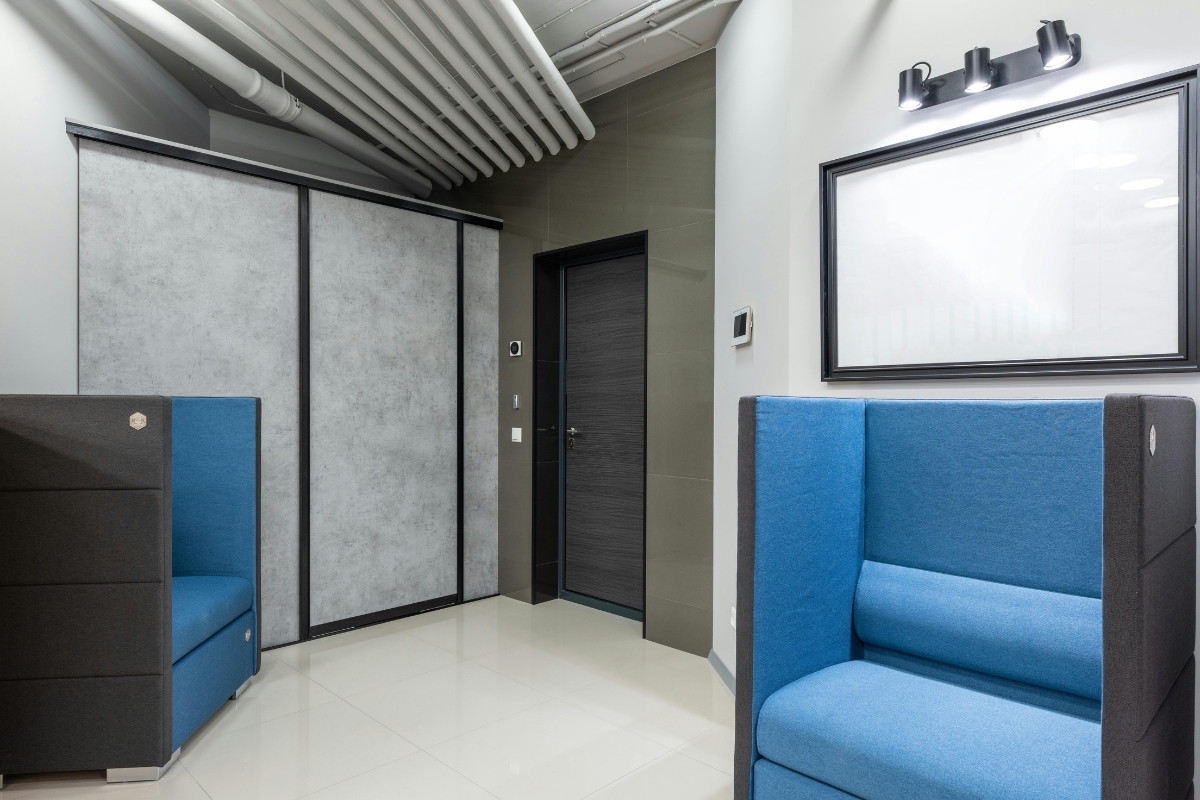
Living room with low-profile sofa and minimal decor for airy feel
Mind Your Furniture & Decor to Make Low Ceilings Feel Taller Design Tips & Tricks

Why it works:
Low ceilings can feel overwhelming if furniture is tall or bulky.

Tips:

  • Choose low-profile sofas, beds, and tables.

  • Keep open space around corners to avoid a cramped feel.

  • Hang curtains close to the ceiling rather than right above the window frame.

Practical tip:
Floor-to-ceiling curtains create verticality and trick the eye into seeing higher walls.

Use Mirrors Strategically
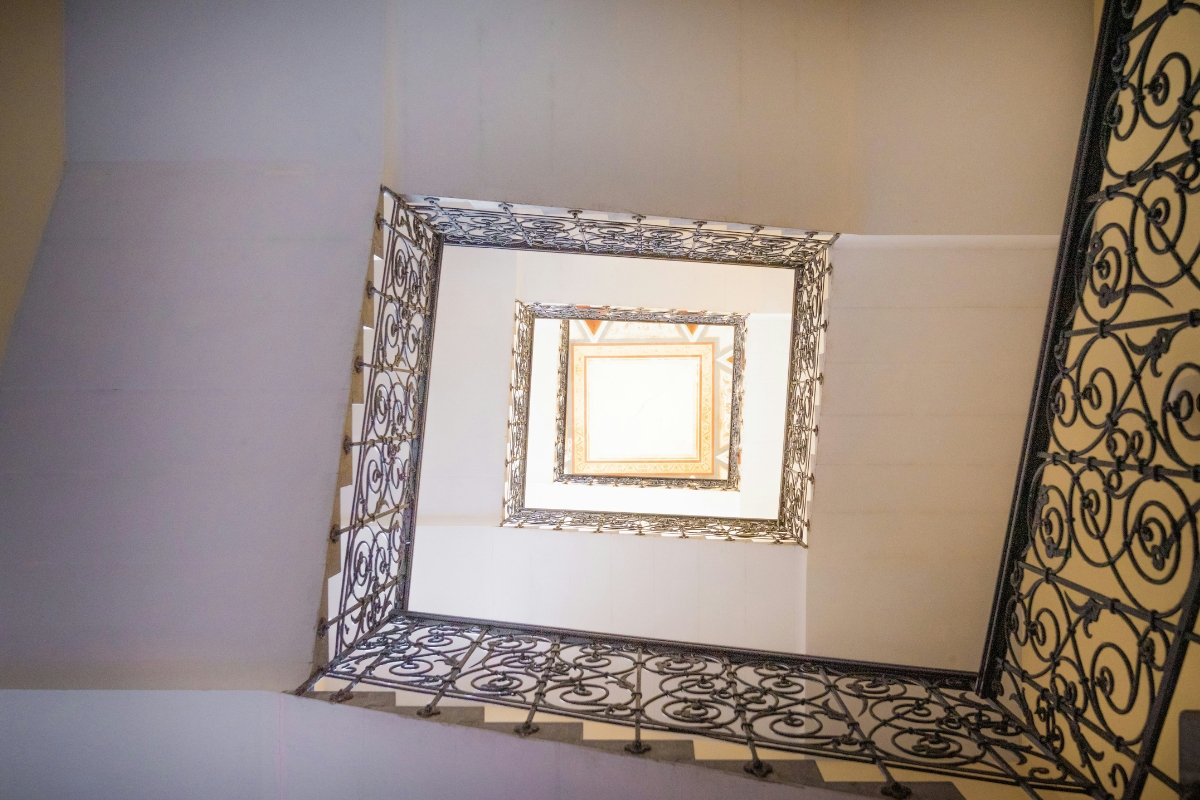
Bedroom with vertical mirror leaning against wall to enhance low ceiling height
Use Mirrors Strategically to Make Low Ceilings Look High: Her Design Tips & Tricks

Why it works:
Mirrors reflect light and create depth, giving the impression of more space.

Ideas:

  • Large vertical mirrors leaning against a wall

  • Mirrored closet doors

  • Small decorative mirrors arranged in a vertical pattern

DIY hack:
Even a set of slim, vertical mirrors arranged side by side can visually “stretch” a room.

Keep Ceilings Simple & Minimal
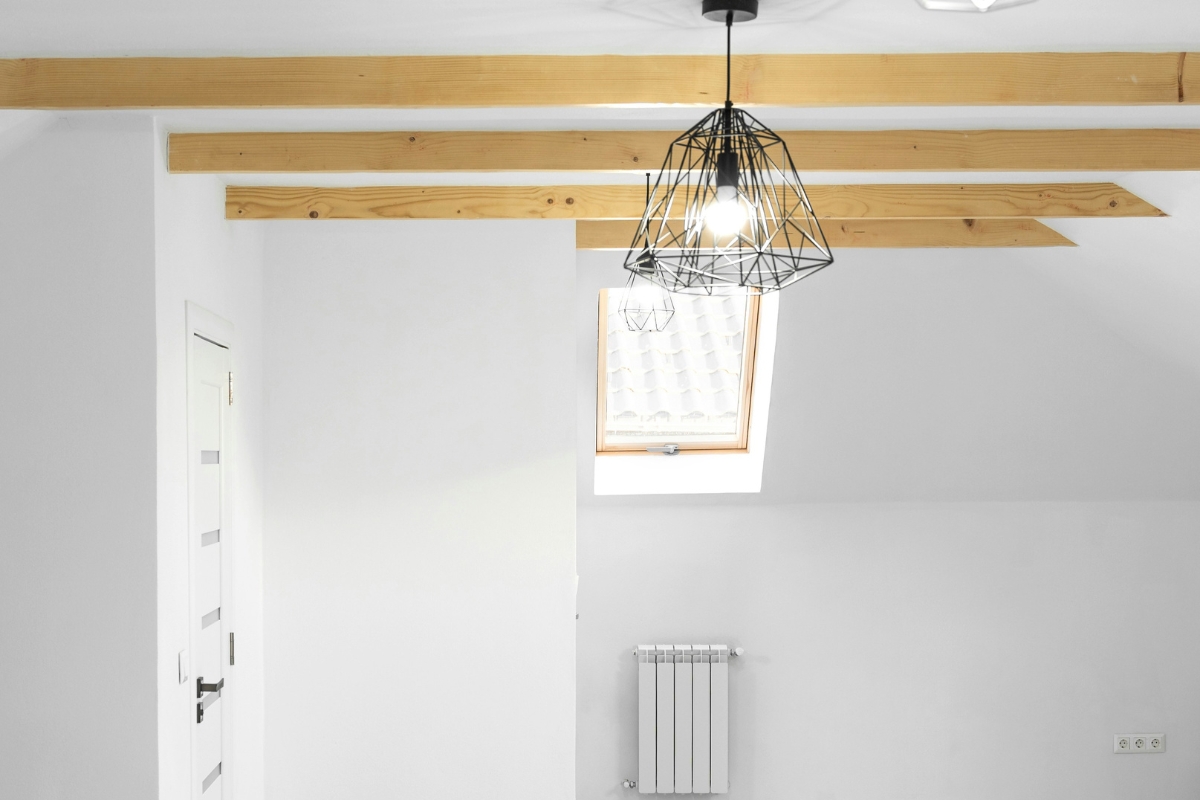
Living room with low ceiling painted white, vertical accents, and mirrors to feel taller
Low-Ceiling Design Hacks Make Rooms Look Higher & Airier with Simple Tricks

Why it works:
Busy ceiling patterns, dark beams, or hanging décor can visually lower the ceiling.

Tips:

  • Avoid heavy textures or dark ceiling panels in low rooms.

  • Stick to clean, simple designs with subtle accent features.

Small real-life situation:
In my own bedroom, I had an ornate ceiling medallion that made the room feel boxed in. Replacing it with a smooth flush-mount light instantly opened up the space.

Budget-Friendly & DIY Ideas

You don’t need a professional renovation to achieve high-ceiling illusions.

Paint Tricks

Use white, cream, or pale shades. Paint the ceiling and the upper 6–12 inches of the wall in a slightly lighter shade to create a seamless lift.

Stick-On Wallpaper & Panels

Vertical patterns or geometric designs can be installed on one wall to elongate the space visually.

 Flush-Mount or Recessed Lights

Replace bulky fixtures with flush or recessed lighting to save visual space.

Tall, Slim Furniture

Bookshelves, dressers, or wardrobes with vertical emphasis draw the eye upward.

Mirrors & Reflective Surfaces

Affordable vertical mirrors or mirrored tiles can make a dramatic difference without breaking the bank.

Practical tip:
Focus on one or two key tricks first — for example, painting the ceiling light and adding vertical stripes — before combining everything. Overdoing it can feel busy.

Common Mistakes to Avoid

Even small errors can make low ceilings feel worse.

Mistake-Dark Ceilings

Dark colors absorb light and create a heavy, boxed-in effect.

Mistake-Overly Tall Furniture

High armoires, bulky sofas, or tall bookcases can visually compress a room.

Mistake-Hanging Low Fixtures

Chandeliers or pendant lights that hang too low reduce headroom and make the ceiling feel closer.

Mistake-Busy Ceiling Patterns

Too many textures or dark beams overwhelm small rooms. Keep it simple.

Mistake-Ignoring Window Treatments

Short curtains or blinds can make walls feel shorter. Floor-to-ceiling treatments add height and elegance.

Final Thoughts: Make Low Ceilings Feel Airy & Inviting

Even if you are stuck with low ceilings at home, you needn’t restrict yourself to minimalist design. There are a variety of simple yet effective tips, like the use of bright colours, straight lines, appropriate furniture, mirrors and lighting that can make rooms in the house seem far wider and airier, and more inviting for you and for guests.

All it takes are small adaptations, the perception of space and dimension is key.

Personal insight:
I’ve seen apartments transform completely with just paint, a few vertical design accents, and better lighting. Low ceilings became a feature to work with, not a limitation.

Remember, the goal is a home that feels open, inviting, and stylish — no matter how high the ceiling is. Look up, think creatively, and embrace these design hacks. Your room will thank you.

Personal Experience: Using Curtains to Add Height

Some time ago, my bedroom had a low ceiling which caused trouble for me so I decided not to alter the construction. The installation of the floor-to-ceiling curtains resolved my dilemma instantly and the room felt higher and more graceful. The curtains succeeded in creating an illusion of space by drawing attention upwards.

Plus, the soft textile of the curtains did not make the room look cumbersome in any manner.

In this way, the room achieved the feeling of spaciousness and balance and it looked more tasteful. Thus it is possible that some small aesthetic decisions can result in significant improvements.

Real-Life Example: Vertical Stripes That Changed the Room

One friend of mine had a small and low ceilinged living room and the only thing she did was to put up vertical striped wallpaper on one of the walls. This made the wall appear taller and it gave the room an added modern design element. Low profile furniture was then put into the living room to maximize this effect and because of that the space appeared larger and less confined. Adding to that the stripes automatically led the eye upwards and the overall effect worked just as well as in the second example as you can see with simple changes to a room it could be visually completely transformed.

Case Study: Light, Mirrors & Smart Layout

In a recent home makeover, a homeowner wanted to fix the “boxed-in” feeling caused by a low ceiling. So, she applied several design hacks:

  • Painted the ceiling in a lighter shade than the walls
  • Used recessed lighting instead of hanging fixtures
  • Added a large vertical mirror to reflect light
  • Chose low-height furniture to keep sightlines open

The room became a lighter space and taller in visual height as a direct result of these things. It also led to lighting of natural elements making the flow in the room consistent as the lighting combined with the color. The mirror magnified the light.

It also worked to extend height due to making the space feel bigger and more airy due to magnifying natural light.

It was also noted that the low furniture helped kept visual lines clear. All these aspects combined to extend height.

Who Are Textured Kitchen Walls Best For?

Textured kitchen walls can work well for homeowners who want to add character and depth without completely redesigning the kitchen. They are particularly useful when the existing cabinets and countertops are simple or neutral and the room needs a stronger visual feature.

This design approach is especially suitable for:

  • Neutral kitchens: Texture can add interest without introducing many new colors.
  • Modern kitchens: Sleek textured tiles, concrete effects, and subtle 3D panels can add depth to minimalist spaces.
  • Cozy or rustic kitchens: Wood, brick, and handmade-look tiles can introduce warmth and character.
  • Small kitchens: A carefully selected textured section can create a focal point without taking up physical space.
  • Homeowners planning a small update: One backsplash or feature wall can make a noticeable difference without a complete remodel.
  • Renters: Removable options such as peel-and-stick products may provide temporary visual changes, depending on the surface and rental rules.
  • People who enjoy layered interiors: Texture works especially well when you want to combine smooth cabinets, natural materials, and subtle decorative details.

The key is not to use texture simply because it is trending. Choose a finish that complements your existing kitchen and supports the atmosphere you want to create.

Who Should Avoid or Modify Textured Kitchen Walls?

Although textured walls can add beautiful character, they are not ideal for every kitchen. Some finishes require more cleaning and maintenance than smooth surfaces, while very strong textures can compete with already-busy cabinets, countertops, or backsplashes.

You may want to avoid or modify this trend if:

  • Your kitchen already has several bold patterns or decorative finishes.
  • You prefer completely smooth and minimalist surfaces.
  • The wall is directly exposed to frequent grease and food splashes.
  • You do not want to spend extra time cleaning textured surfaces.
  • Your kitchen is very small and already has many visual elements.
  • You are renting and cannot permanently modify the wall.
  • You want a timeless look and are concerned about highly trend-specific textures.

However, you do not have to avoid texture completely. A subtle tile, lightly textured plaster effect, or small feature section can provide depth without overwhelming the room.

The goal is to choose the right amount of texture for your space, rather than covering every available wall.

Pros & Cons of Textured Kitchen Walls

Before choosing a textured finish, consider how it will look and perform in your everyday kitchen.

Pros

  • Adds visual depth: Texture can make a plain wall feel more interesting and layered.
  • Creates a focal point: A textured backsplash or feature wall can naturally attract attention.
  • Adds warmth and character: Materials such as wood, brick, and handmade-look tiles can soften a modern kitchen.
  • Works with many styles: Texture can complement modern, rustic, Scandinavian, farmhouse, and minimalist interiors.
  • Can create a custom look: Carefully selected finishes can make a kitchen feel more thoughtfully designed.
  • Flexible design options: You can choose from subtle textures or more dramatic finishes.
  • Can work without a full renovation: Updating one wall or backsplash may be enough to change the overall appearance.

Cons

  • Some textures are harder to clean: Deep grooves and raised surfaces can collect dust or cooking residue.
  • Installation can cost more: Certain tiles, stone, or panel systems may require professional installation.
  • Strong textures can overwhelm a small space: Too much visual depth may make a compact kitchen feel busy.
  • Some materials need maintenance: Wood, stone, and certain finishes may require sealing or specific care.
  • Trendy finishes can date: Highly distinctive designs may not appeal to you long term.
  • Lighting affects the appearance: Shadows can make a texture look stronger at certain times of day.

For most kitchens, a balanced approach works best: choose one main textured surface and let the surrounding elements remain relatively simple.

Buying Considerations for Textured Kitchen Walls

Choosing a textured wall finish is about more than appearance. Because kitchens experience moisture, cooking residue, temperature changes, and regular cleaning, practicality should be part of the decision.

Consider the Location

A textured wall behind a breakfast nook may require less maintenance than a wall directly behind the stove. For high-splash or high-grease areas, choose a finish that is appropriate for kitchen conditions and easy to clean.

Check the Material

Before purchasing, understand whether the material is ceramic, porcelain, natural stone, wood, plaster-effect, PVC, or another surface. Each material can have different cleaning and maintenance requirements.

Think About Cleaning

Look closely at the depth of the texture. Deep grooves and heavily raised patterns may require more effort to clean than lightly textured surfaces.

Match Your Existing Kitchen

Consider your cabinets, countertops, flooring, hardware, and lighting. The texture should complement these elements rather than compete with them.

Test the Finish First

Whenever possible, view a sample in your actual kitchen. Natural light and artificial lighting can change how the texture and color appear.

Check Installation Requirements

Some materials can be installed as a DIY project, while tile, stone, or larger panels may require specific tools or professional installation.

Consider Long-Term Appeal

Ask whether you would still enjoy the texture several years from now. A subtle finish can often remain versatile longer than an extremely bold pattern.

Set a Complete Budget

Include the cost of the material, adhesive, grout, tools, installation, finishing products, and potential waste. This gives you a more realistic idea of the total project cost.

Ultimately, choose a texture that looks beautiful and fits the way you cook, clean, and use your kitchen every day.

Alternatives to Textured Kitchen Walls

If a fully textured wall feels too bold, expensive, or difficult to maintain, you can create a similar sense of visual interest with simpler alternatives.

Try a Subtle Backsplash

A simple patterned or handmade-look backsplash can add character without covering a large wall.

Use Paint

A carefully chosen paint color can create a focal point without introducing physical texture. Soft earthy shades can add warmth while keeping the surface easy to maintain.

Add Open Shelving

Wooden shelves can introduce natural warmth and dimension. Style them with ceramics, cutting boards, plants, or glass jars for a layered look.

Use Decorative Lighting

Pendant lights or under-cabinet lighting can create shadows and highlights that make a simple wall more visually interesting.

Introduce Natural Materials

Wooden cutting boards, woven baskets, ceramics, and plants can bring tactile variety without changing the wall itself.

Create a Small Feature Area

Instead of treating an entire wall, add texture to a small section behind open shelves, around a breakfast nook, or in a limited backsplash area.

These alternatives are useful if you want the warmth and personality of a textured kitchen without committing to a major wall treatment.

Real-World Use Example: A Subtle Textured Backsplash in a Small Kitchen

In a small apartment kitchen you may have white cabinets, a light countertop, and a very tight constraint on decorative possibilities. To make the room have a more unique feel without the area being decreased even visually, the designer opts not to cover the entire wall. Instead, the decision is to create a texture on the area behind the stove using a very subtle off-white, almost textured tile.

With a smooth pattern and color variation, light bounces off the surface giving an unexpected interest and design while the light shade of tile makes the room feel airy and chic, not cramped.

To complement the unique tile, smooth white cabinets are paired with wooden, warm tones of accessory, and greenery. With only a small amount of accents, the texture on the wall remains the star but, a clean back wall allows all the components to be noticed. Through simple additions such as a single piece of tile over the stove, a kitchen may feel more customized and considered without a massive design overhaul.

Author Credibility

This article is inspired by ideas shared on SilkRaj.com and written by Md. Sohel Parvez, Pinterest Marketing Manager and part of the SilkRaj creative team. He focuses on practical, trend-driven home décor ideas that help transform everyday spaces. Moreover, his approach blends creativity with functionality, making his insights both realistic and easy to apply. In addition, his work emphasizes solutions that are simple yet effective. Therefore, readers can confidently implement these ideas in their own homes.

Author Bio

Md. Sohel Parvez is a home decor content creator and Pinterest Marketing Manager associated with SilkRaj.com. He shares practical interior design ideas, seasonal decorating inspiration, space-saving solutions, and approachable home styling tips.

His content focuses on helping homeowners and renters create spaces that balance beauty, comfort, and everyday functionality. Through research, trend analysis, and hands-on exploration of home styling ideas, he aims to provide practical decorating inspiration that readers can realistically apply in their own homes.

Conclusion

Adding texture to kitchen walls can totally transform the room’s feel, and often can be done without needing to reconfigure the space completely. Hand-made looking tiles, soft, plastery finishes, wood paneling or even stone like textured finishes would all make a welcome addition and would add depth and character to the space.

Even so, often less is more with kitchen textures. It should be considered with a thought to use within the kitchen, which wall the room naturally needs drawing to it, and how many and which surfaces one is willing to clean.

With a small kitchen, or first trying a textured wall finish, work with a small area, a splash back, or one small feature wall. Adding a stronger texture in a minimalist kitchen with fairly plain cabinetry and counter tops, it will simply draw focus to itself. Whereas if the room is already incredibly complex and detailed, an easier finish would fit the room more comfortably.

Texture should accentuate your kitchen, not battle for the eye line. Therefore one should choose a finish fitting one’s style, not overshadow its fellow tones, and let light emphasize the surface, not detract from its texture.

And adding a textured wall to the kitchen just makes it a better feel and personality and keeps it usable for a normal life.

FAQ

Q: What are low-ceiling design hacks?
A: They are design techniques that make ceilings appear higher, such as using vertical lines, light colors, and strategic lighting. In addition, they help create a more open visual effect.

Q: What colors work best for low ceilings?
A: Light colors, especially white or soft neutrals, work best because they reflect light and create a sense of openness. Furthermore, they help make the ceiling feel less heavy.

Q: Can lighting really make a difference?
A: Yes! In fact, recessed or flush lighting helps avoid visual clutter and keeps the ceiling looking higher. Moreover, proper lighting enhances the overall atmosphere.

Q: Is this suitable for small rooms?
A: Absolutely. In particular, these hacks are ideal for small spaces where maximizing visual height is important. Additionally, they make rooms feel less cramped and more comfortable.

Outbound Inspiration Link